Hey, in this post I'll share with you a cute and simple koi fish nail art! This nail art tutorial shows you a cute and adorable nail art design in mint blue with a white, orange and black koi (fish). You need a nail art brush and a dotting tool. I draw the koi on my ring and middle finger nail, and on the ring finger nail I did a mint blue French tip. It's a very easy and simple nail art as well, great for beginners! I thought it would be a little hard to draw, but it's easy and simple.
Products used: - Flormar - Nail Care 4 in 1 Complete Care (Base Coat) - Cien - 11 Mint (Mint Blue) - Kiko - 203 - French Manicure White for Tips (White) - Kiko - 275 - Black (Black) - Kiko - 280 - Orange (Orange) - Essence - Ultra Gloss Top Coat
Hey, today I have a simple and easy floral nail art to share with you! This nail art tutorial shows you a simple and easy floral nail art design in beige with pink flowers and green and yellow branches. You need a nail art brush and a dotting tool. This is a very easy and simple design for beginners.
Products used: - Flormar - Nail Care 4 in 1 Complete Care (Base Coat) - Kiko - 003 - Beige (Collection Soft Nudes) (Beige) - Kiko - 49 - Apple Green (Green) - Kiko - 356 - Melon (Yellow) - Kiko - 506 - Venus Pink (Light Pink) - Kiko - 360 - Strawberry Pink (Pink) - Kiko - 275 - Black (Black) - Kiko - 203 - French Manicure White for Tips (White) - Essence - Ultra Gloss Top Coat
I used pink as base colour for this nail art! I started by applying a base coat and a cuticle guard around my nails (pinky, ring and thumb finger nails). I painted my middle and index finger nail pink and the other three white. On my white nails I did a smooshy look using different colours of pink. Then I stamped flowers and applied a coat of glitter on all nails. I added a white dot in the centre of the flowers. After it has dried, I applied a top coat.
Hey, in this nail art tutorial I show you an easy and simple Halloween nail art with stamped candies using the stamping plate Halloween L005 by Born Pretty Store! This nail art tutorial shows you a simple and easy nail art design in orange, purple and three nails in white with stamped candies outlined in black and filled in with orange, purple and yellow. You need a nail art brush.
For this nail art I did a very easy and simple design using a stamping plate with candies. I started by applying a base coat. Then painted my nails orange (pinky finger nail), purple (ring finger nail) and white (middle, index and thumb finger nails). On my white nails I stamped Halloween candies, but first I filled in the design in orange, purple and yellow, and then stamped on my nails. After drying, I applied a top coat. Products used: - Flormar - Nail Care 4 in 1 Complete Care (Base Coat) - Kiko - 280 - Orange (Orange) - Kiko - 332 - Dark Violet (Purple) - Kiko - 101 - White French (White) - Born Pretty Store - P-WN03 Throne (Black Stamping Nail Polish) - Cien - 3 Banana (Yellow) - Essence - Ultra Gloss Top Coat Born Pretty Store website: https://www.bornprettystore.com/ Black Stamping Nail Polish (BP-WN03 Throne): Link: https://www.bornprettystore.com/born-pretty-stamping-polish-lacquer-gold-silver-nail-plate-white-night-stamping-series-p-42857.html Stamping Plate Halloween L005 (43664):
today's tutorial is a simple French tip with a black cat and dots!
This nail art tutorial shows you a simple and easy nail art design with a white straight French tip with a black cat and orange dots. You need a nail art brush and a dotting tool.
For the third Halloween nail art I did a straight French tip in white, with a black cat and orange dots. I started by applying a base coat. Then placed tape on the nails and painted the tip in white. I removed the tape after painting the second coat. Using a nail art brush and black nail polish I drew a cat. Then using a nail art brush I did an orange bow on the cat's neck and added a small dot to make its nose. I added two small white dot for its eyes, and three orange dots on the white straight French tip. After the design has dried, I applied a top coat.
Products used: - Flormar - Nail Care 4 in 1 Complete Care (Base Coat) - Kiko - 101 - White French (White) - Kiko - 275 - Black (Black) - Kiko - 280 - Orange (Orange) - Essence - Ultra Gloss Top Coat
Halloween Nail Art: French Tip with Black Cat and Dots
Halloween Nail Art: French Tip with Black Cat and Dots - Video
today's tutorial is a cute and adorable fox and flowers nail art!
This nail art tutorial shows you a cute and adorable nail art design with a fox with flowers in the head and the other four nails are a French tip with flowers. You need a nail art brush and a dotting tool.
I did a simple and cute fox and French tip with flower nail art! I started by applying base coat. I did a beige French tip on my nails except on the ring finger nail, which I painted part of a circle on the tip to the centre of the nail, using the same colour. On the same nail I draw the face and ears of the fox, using a nail art brush and an orange nail polish. While it was drying, I started drawing green leaves on my other nails and in one side of the fox's head. Then using orange, pink and peach nail polishes and a dotting tool I created flowers over the green leaves, except on the fox, which I did only a pink flower. On the fox I added two black dots for the eyes and one black dot for the nose. I added a gold dot in the centre of the flowers and outlined one side of the leaves with a darker green. After the designs have dried, I applied a top coat.
Products used: - Flormar - Nail Care 4 in 1 Complete Care (Base Coat) - Kiko - 003 - Beige (Beige) (Collection Soft Nudes) - Kiko - 280 - Orange (Orange) - Kiko - 49 - Apple Green (Green) - Kiko - 275 - Black (Black) - Kiko - 506 - Venus Pink (Pink) - Kiko - 359 - Light Peach (Peach) - Kiko - 479 - Pearly Sesame Golden (Golden) - Kiko - 534 - Green Forest (Dark Green) - Essence - Ultra Gloss Top Coat
this post is a review of the stamping plate Halloween L005 by Born Pretty Store and an easy and simple nail art using that stamping plate! Thanks Cynthia for sending me this to review! :)
You can use my code NASHI5 for 10% discount. O post de hoje é uma review a placa de estampar Halloween L005 da loja Born Pretty Store e uma nail art usando a placa! Obrigada Cynthia pela generosidade em enviar isto para review! :)
Podem usar o meu código NASHI5 para um desconto de 10%.
The stamping plate comes in a white and gold packaging, very simple and cute. It's like the other packaging of the other stamping plate I reviewed. On the back it has instructions on how to use.
This stamping plate has 26 Halloween designs, a big image (1,5cmx3,5cm), 4 medium images (1,5cmx2,5cm) and the rest are small images measuring from 0,5cm up to 1,5cm. The stamping plate measures 12cmx6cm (with the white part measures 12,5cmx6,5cm).
A placa tem 26 desenhos de Halloween, uma imagem grande, medindo 1,5cmx3,5cm, 4 imagens médias medindo cada um 1,5cmx2,5cm, o resto são imagens mais pequenas, medindo entre 0,5cm ate 1,5cm. A placa 12cmx6cm (com a parte branca mede 12,5cmx6,5cm).
Here you can see the swatches of the designs. The designs were easily picked up and stamped well on the paper and on nails. Aqui podem ver os desenhos estampados.
I recommend this stamping plate! Recomendo esta placa de estampar!
I did a simple nail art using this stamping plate. I started by applying a base coat, then painted my nails white. You can use tape or a cuticle guard to put around the nails. Using a fan brush and orange and purple nail polish I created an ombre/gradient design. I stamped over the ombre the hats, bats and stars design. After it has dried, I applied a top coat. Este tutorial mostra uma nail art fácil e simples usando a placa que mostrei. Products used: - Flormar - Nail Care 4 in 1 Complete Care (Base Coat) - Kiko - 203 - French Manicure White for Tips (White) - Kiko - 280 - Orange (Orange) - Kiko - 332 - Dark Violet (Purple) - Born Pretty Store - BP-WN03 Throne (Black Stamping Nail Polish) - Cien - Base & Top Coat
Halloween Nail Art: Ombre and Stamped Hats, Bats and Stars
Halloween Nail Art: Ombre and Stamped Hats, Bats and Stars - Video
today's tutorial is a simple and easy holographic and stamped flower nail art!
This nail art tutorial shows you a simple and easy nail art design in silver holographic with stamped flowers.
So, yesterday I did a review about a black stamping nail polish from Born Pretty Store, and as you know the next tutorial is usually a nail art using the product I reviewed. For this nail art I wanted something easy and simple, which is great for beginners and for short nails too! I started by applying a base coat and then painted my nails with a holographic nail polish. I stamped flowers over the nails. After drying I applied a top coat.
Este tutorial mostra uma nail art fácil e simples em prateado holográfico e flores estampadas.
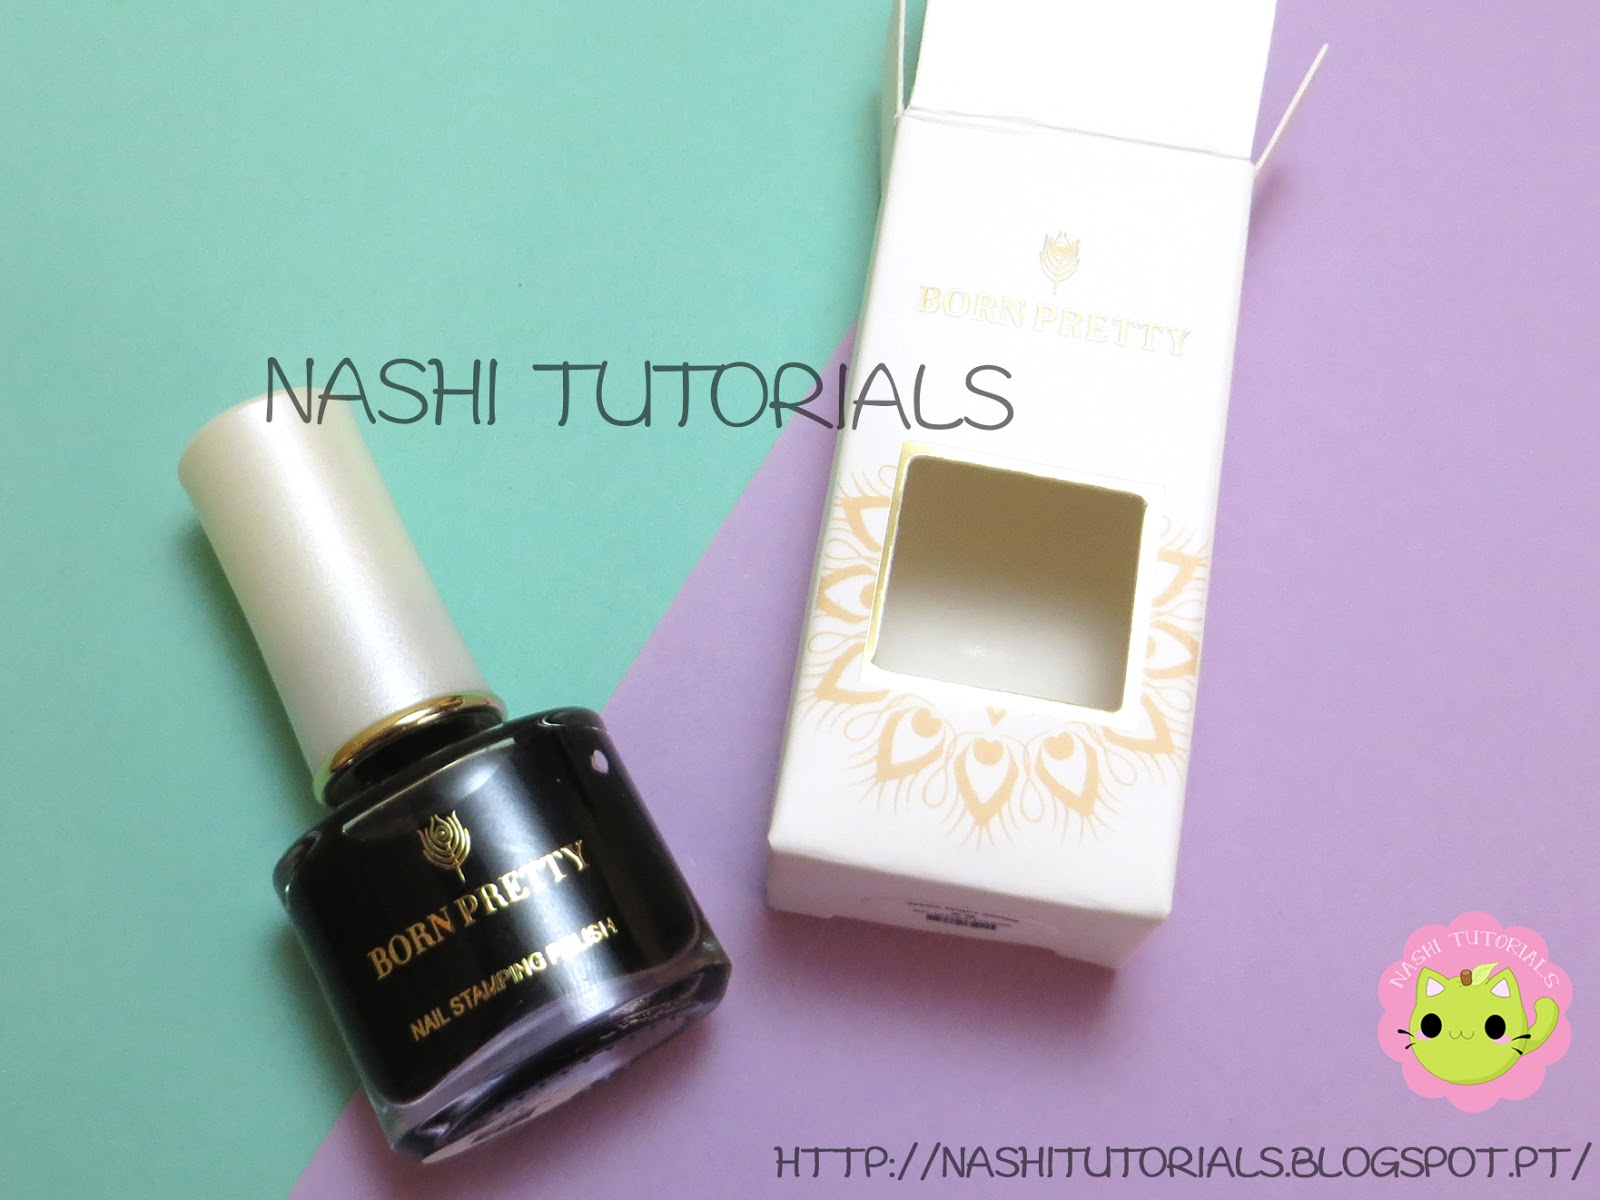
Products used: - Flormar - Nail Care 4 in 1 Complete Care (Base Coat) - Kiko - 001 - Silver (Silver Holographic) - Born Pretty Store - BP-WN03 Throne (Black Stamping Nail Polish) - Cien - Base & Top Coat Born Pretty Store website: https://www.bornprettystore.com/ Black Stamping Nail Polish (BP-WN03 Throne):
in this tutorial I'll show you a cute and simple French manicure with a pink flower.
This nail art tutorial shows you a cute and simple nail art design in fuchsia and one nail has a French tip with a light pink flower. You need a nail art brush and a dotting tool.
I used nail polish for this nail art, but you can use acrylic paint as well. I started by applying a base coat, then painted my nails with a pink/red fuchsia colour. On my ring finger nail I did a French manicure with the same colour. Then using a nail art brush and a light pink nail polish I created a flower. Added a few strokes in the centre of the flower with the same base colour and added a yellow dot using a small dotting tool. I added a few green leaves. Using a nail art brush and a black nail polish I outlined the design and added a few tiny dots on the curve of the nail tip. After it has dried, I applied a top coat.
Este tutorial mostra uma nail art fácil e gira em fuchsia e uma unha com uma manicure Francesa com uma flor cor-de-rosa. Precisas de um pincel de nail art e um dotting tool.
Products used: - Flormar - Nail Care 4 in 1 Complete Care (Base Coat) - Kiko - 066 - Fuchsia (Pink) - Kiko - 506 - Venus Pink (Light Pink) - Kiko - 356 - Melon (Yellow) - Kiko - 49 - Apple Green (Green) - Kiko - 275 - Black (Black) - Cien - Base & Top Coat
today's nail art is a simple and easy marble stone nail art!
This nail art tutorial shows you a simple and easy nail art design on how to make a marble stone nail art. You need a nail art brush.
Someone requested/suggested a marble stone nail art, so I did this easy and simple nail art! All you need is a piece of plastic (of a plastic bag or saran wrap) and a nail art brush. I started by applying a base coat, then painted my nails white. I put a little bit of grey nail polish on an acrylic block and with a piece of plastic I dabbed it on the nail polish, which I removed a little by tapping on the acrylic block. Then dabbed it on the nails. Using a nail art brush and a black nail polish I created irregular lines (you can shake your hand while doing this). After it has dried, I applied a top coat.
Este tutorial mostra uma nail art fácil e simples em como fazer uma nail art pedra mármore. Precisas de um pincel de nail art.
Products used: - Flormar - Nail Care 4 in 1 Complete Care (Base Coat) - Kiko - 203 - French Manicure White for Tips (White) - Cien - 11 Light Grey (Grey) - Kiko - 275 - Black (Black) - Cien - Base & Top Coat
in today's nail art I show you a cute and simple French tip with a flower in peach!
This nail art tutorial shows you a cute and simple nail art design in peach and two nails with a white French tip with flowers in peach and green leaves, outlined in black. You need a nail art brush and a dotting tool.
I wanted a French manicure nail art, but I wasn't sure what to draw. So I did easy and simple flowers. To be honest, if you want to recreate this nail art I think acrylic paint is a better option, especially on the outline part. I started by applying a base coat, then painted my nails peach. On my ring and middle finger I did a white French manicure. I used a white nail polish from Kiko that has a smaller nail polish brush, great for French manicure, but you can use a French manicure guide, reinforcement labels or a nail art brush. Using a nail art brush I created a flower in peach and some green leaves. After dried, I outlined the design in black and using a dotting tool I added a yellow dot in the centre of the flowers. After it has dried, I applied a top coat.
Este tutorial mostra uma nail art fácil e gira na cor pêssego no qual duas unhas tem uma manicure francesa em branco com um flor cor de pêssego e folhas verdes. Precisas de um pincel de nail art e um dotting tool. Products used: - Flormar - Nail Care 4 in 1 Complete Care (Base Coat) - Cien - 4 Peach (Peach) - Kiko - 203 - French Manicure White for Tips (White) - Kiko - 49 - Apple Green (Green) - Kiko - 275 - Black (Black) - Cien - Base & Top Coat
today's tutorial is a cute and fun pineapple nail art!
This nail art tutorial shows you a cute and fun nail art design in pink and three nails with pineapples, white zigzag lines and black dots. You need a nail art brush and a dotting tool.
This nail art design looks great on short nails too!
In this fruit nail art design I chose to draw pineapples and pineapples slices with white zigzag lines and black dots. I started by applying a base coat and then painted my nails pink. On my ring, middle and thumb finger nails using a nail art brush I drew pineapples and round pineapple slices in light yellow, with a darker yellow I added some outlines to the pineapples. On the top of the pineapples I added a few green strokes. Using a white nail polish and a nail art brush I created small zigzag lines and with a black nail polish and a dotting tool I created dots. After it has dried, I applied a top coat.
Este tutorial mostra uma nail art fácil e divertida em cor-de-rosa com ananases. Precisas de um pincel de nail art e um dotting tool.
Products used: - Flormar - Nail Care 4 in 1 Complete Care (Base Coat) - Kiko - 506 - Venus Pink (Pink) - Cien - 3 Banana (Light Yellow) - Kiko - 356 - Melon (Yellow) - Kiko - 343 - Spring Green (Green) - Kiko - 203 - French Manicure White for Tips - Kiko - 275 - Black (Black) - Cien - Base & Top Coat
today's nail art is a cute and simple design with yellow and grey flowers!
This nail art tutorial shows you a cute and simple nail art design in yellow, grey and two nails in white with yellow and grey flowers. You need a nail art brush and a dotting tool.
You have been seeing a lot of tropical/Summer nail arts, today's nail art is simple and it doesn't fit a category as such "tropical" or "Summer", but if you want you can change the colours to a more vibrant/Summer colours to create a Summery nail art. I started by applying my base coat, then painted my nails:
- Pinky and thumb finger nail: Grey
- Ring and middle finger nail: White
- Index finger nail: Yellow
On my white nails I created yellow and grey flowers, using a nail art brush and a dotting tool. Then added a black dot in the centre of the flowers and in two flowers (one grey and one yellow) I added tiny black dots around the black dot. Using a nail art brush and a black nail polish I created wavy lines and added some leaves. I added a few yellow dots over the nail art. After it has dried, I applied a top coat.
Este tutorial mostra uma nail art fácil e gira em amarelo, cinzento e duas unhas em branco com flores amarelas e cinzentas. Precisas de um pincel de nail art e um dotting tool. You can use my code NASHI for 10% off on BeautyBigBang website!
Products used: - Flormar - Nail Care 4 in 1 Complete Care (Base Coat) - Cien - 11 Light Grey (Grey) - Kiko - 356 - Melon (Yellow) - Kiko - 203 - French Manicure White for Tips (White) - Kiko - 275 - Black (Black) - Cien - Base & Top Coat
today's tutorial is a cute yet simple ombre with a stamped flower nail art!
This nail art tutorial shows you a cute and simple nail art design with an ombre in peach and orange and a stamped flower. I used a fan nail art brush to create the ombre/gradient look, but you can use a sponge.
My last post was a review of two floral stamping plates from BeautyBigBang, so today's tutorial has to be a nail art using one of the stamping plates. I chose the BeautyBigBang07 stamping plate for the first nail art. I started by applying base coat, then I put a cuticle guard around my nails. I painted my nails white and let it dry. Using a fan brush and peach and orange nail polishes I created an ombre/gradient look. Then I stamped a flower in black over the nails on my ring and middle finger. After it has dried, I applied a top coat.
Este tutorial mostra uma nail art simples e gira, com efeito ombre em cor pêssego e cor-de-laranja, com uma flor estampada. Usei um pincel fan para fazer o ombre, mas podem usar uma esponja.
You can use my code NASHI for 10% off on BeautyBigBang website! Products used: - Flormar - Nail Care 4 in 1 Complete Care (Base Coat) - Kiko - 203 - French Manicure White for Tips (White) - Kiko - 359 - Light Peach (Peach) - Kiko - 483 - Papaya (Orange) - Kiko - 275 - Black (Black) - Cien - Base & Top Coat BeautyBigBang website: https://www.beautybigbang.com/
today's nail art is a cute and simple peach flowers and stripes nail art!
This nail art tutorial shows you a cute and simple nail art design in peach, and two nails in white with black stripes and peach flowers. You need a nail art brush and a dotting tool.
Such a cute and simple nail art! I started by applying a base coat, and then painted my nails:
- Pinky, index and thumb finger nail: Peach
- Ring and middle finger nail: White
On the white nails I used a black nail polish and a striping brush to create stripes along the nails. Using a detail brush and the peach nail polish I created a five petal flower and added green leaves. I outlined one side of the flowers and leaves, with a darker colour matching the base colour. On the flowers I added tiny black dots, using a small dotting tool. After it has dried, I applied a top coat!
Este tutorial mostra uma nail art fácil e gira em cor de pêssego e duas unhas em branco com linhas pretas e flores cor pêssego. Precisas de um pincel de nail art e um dotting tool.
Products used: - Flormar - Nail Care 4 in 1 Complete Care (Base Coat) - Kiko - 359 - Light Peach (Peach) - Kiko - 203 - French Manicure White for Tips (White) - Kiko - 275 - Black (Black) - Flormar - FC21 Source of Energy (Green) - Kiko - 483 - Papaya (Orange) - Kiko - 343 - Spring Green (Dark Green) - Essence - Quick Dry Top Coat
today's tutorial is a cute and simple pink floral nail art!
This nail art tutorial shows you a cute and simple nail art design in pink and two nails in white, with a pink flowers and black. You need a nail art brush and a dotting tool.
I thought of adding some green to this nail art, but I didn't like. I think it looks great in these colours. Perhaps, I shouldn't have done the tiny dots, but it looks cute too!
I started by applying a base coat, then painted my nails:
- Pinky, index and thumb finger nail: Pink
- Ring and middle finger nail: White
On the white nails, using a nail art brush and a dotting, as well pink and light pink colours, I created random flowers, in different sizes and shapes. I outlined the pink flowers with a light pink nail polish, on the middle of those flowers I made tiny dots in black and white. The light pink flowers I let them simple. I added some black leaves, in some leaves I added a small white line. Using a nail art brush I created tiny dots in pink and black (it looks great without the tiny dots too). After it has dried, I applied a top coat.
Este tutorial de nail art mostra uma nail art fácil e simples com flores cor-de-rosa. Precisas de um pincel de nail art e um dotting tool.
Products used: - Flormar - Nail Care 4 in 1 Complete Care (Base Coat) - Kiko - 282 - Coral Pink (Pink) - Kiko - 203 - French Manicure White for Tips (White) - Kiko - 506 - Venus Pink (Light Pink) - Kiko - 275 - Black (Black) - Essence - Quick Dry Top Coat
today's nail art is a cute and simple floral nail art in pink, peach and mint green! Well, more like pastel colours!
This nail art tutorial shows you a cute and simple nail art design in mint green pastel and two nails in white with mint green, peach and pink pastel flowers, with some green leaves. You need a nail art brush and a dotting tool.
Spring is almost there! This nail art has the Spring colours! I think pastels/light colours are great for Spring, don't you think? Aww, anyway, I started by applying a base coat, as always! Then painted my pinky, index and thumb finger nail of mint green and the other two nails of white. On the white nails , I create two flowers of each colour, pink, peach and mint green. I used a nail art brush, I made small stripes in a circle shape. While drying, with the nail art brush and green I made a few leaves. On the flowers I added a white dot on the centre with a dotting tool, and let it dry. Using a nail art brush and a black nail polish I made tiny dots on the white dot. After it has dried, applied a top coat.
Este tutorial de nail art mostra uma nail art fácil e gira em verde menta e duas unhas com flores em cor-de-rosa, cor pêssego e verde menta com folhas verdes. Precisas de um pincel de nail art e um dotting tool.
Esta nail art é muito simples e gira. Começei por aplicar base coat. Depois pintei a unha do dedo mindinho, indicador e polegar de verde menta, as outras duas unhas de branco. Nas unhas de branco, fiz flores em cor-de-rosa, cor pêssego e verde menta, usando um pincel de nail art. Com um verde e o pincel de nail art fiz várias folhas. Depois com um dotting tool e um verniz branco fiz um ponto no meio de cada flor, e com o pincel e verniz preto fiz vários pontos no ponto branco. Deixei secar e apliquei um top coat.
Products used: - Flormar - Nail Care 4 in 1 Complete Care (Base Coat) - Kiko - 085 - Mint Milk (Mint Green Pastel) - Kiko - 203 - French Manicure White for Tips (White) - Kiko - 359 - Light Peach (Peach) - Kiko - 506 - Venus Pink (Pink) - Kiko - 275 - Black (Black) - Essence - Quick Dry Top Coat
Pink, Peach and Mint Green Floral Nail Art
Pink, Peach and Mint Green Floral Nail Art - Video